Most of modern SEMs use a chamber-scope to watch what’s happening in the chamber. A camera is useful to check which stub is currently under the objective of the microscope.
My old analogic SEM didn’t of course have any, but there are still two side empty holes in the chamber, which can be used for detectors, or any other device you would like to install as extra.
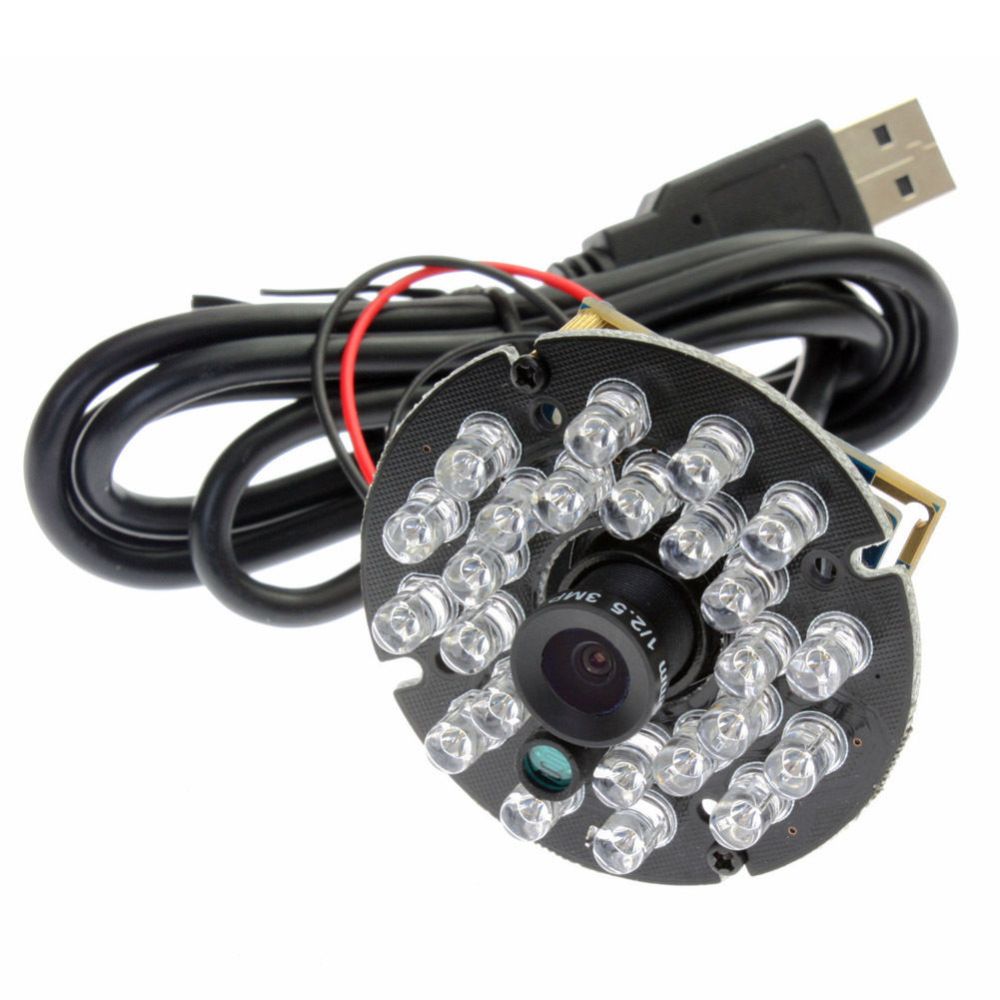
In my case, I decided to use a USB camera from ebay like this one:
In order to fit it into the chamber I had two options: machining a proper piece which could fit into one of the side ports of the chambers, or looking for a similar piece on Ebay.
At last I could surprisingly find a second hand part from a Hitachi SEM which could perfectly fit the port and even the holes for the screws were “almost” in line with the ones on my SEM. All I had to do was placing the part on the rotating table of the milling machine in order to dig a groove on the same radius of the existing holes, so I could screw the chamber scope in the existing holes.
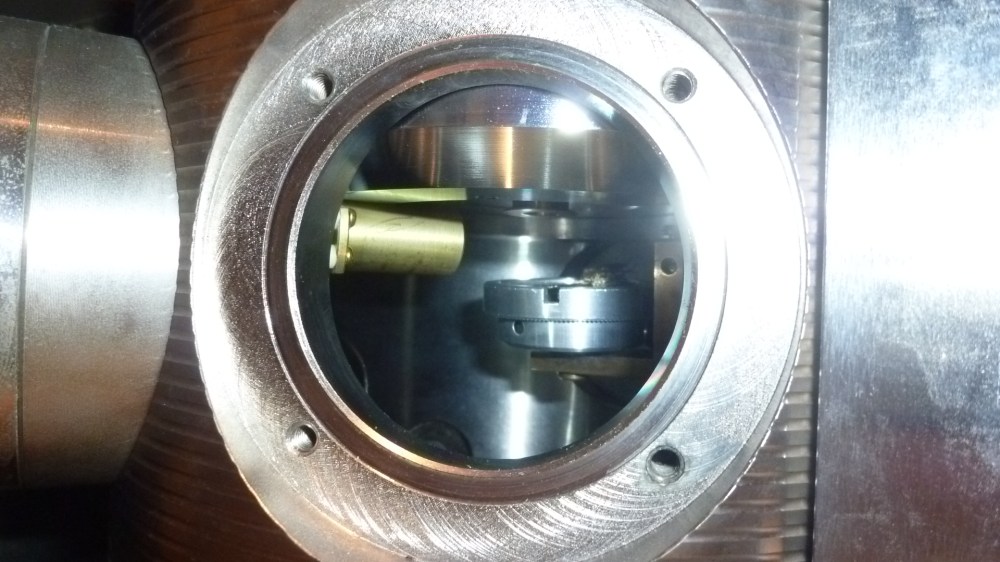
A view inside the chamber from the left free port. You can see the four screw holes and the o-ring groove. On its left, the secondary electron detector. Inside you can see the old specimen holder. I had to machine a new one in order to have each stub perfectly centered under the objective which can also hold up to 6 stubs 10 or 12 mm in diameter.
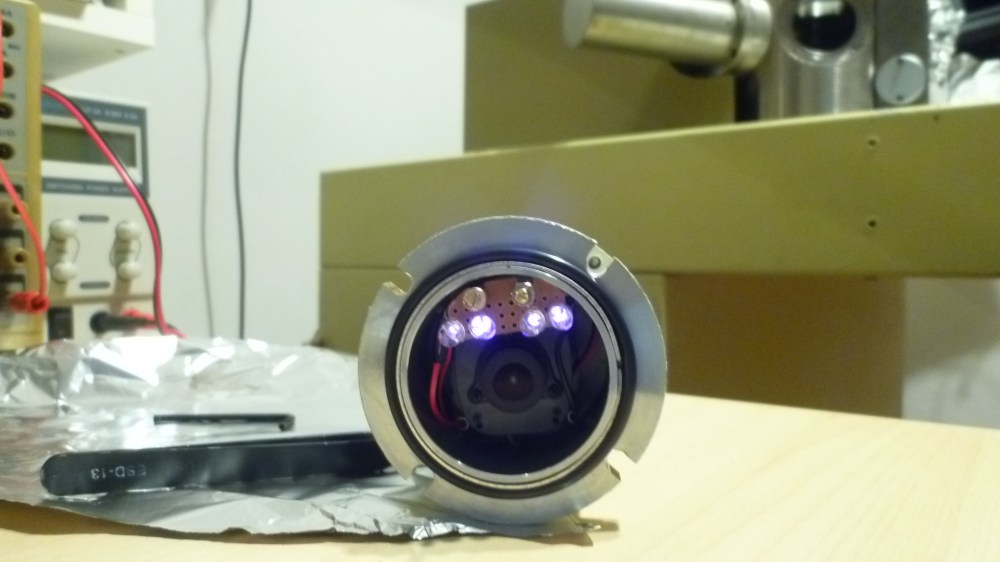
This is the camera installed in the Hitachi piece. Notice that I had to remove the original LED assembly in order to fit the camera inside and build a little holder for four new infrared LEDs. On the back, there are some pass-through contacts which allow me to connect the camera to a PC through a USB cable. In the original setup this part was used to hold a filament lamp (!) inside the chamber.

Here is the chamber-scope installed in the chamber and ready to go.
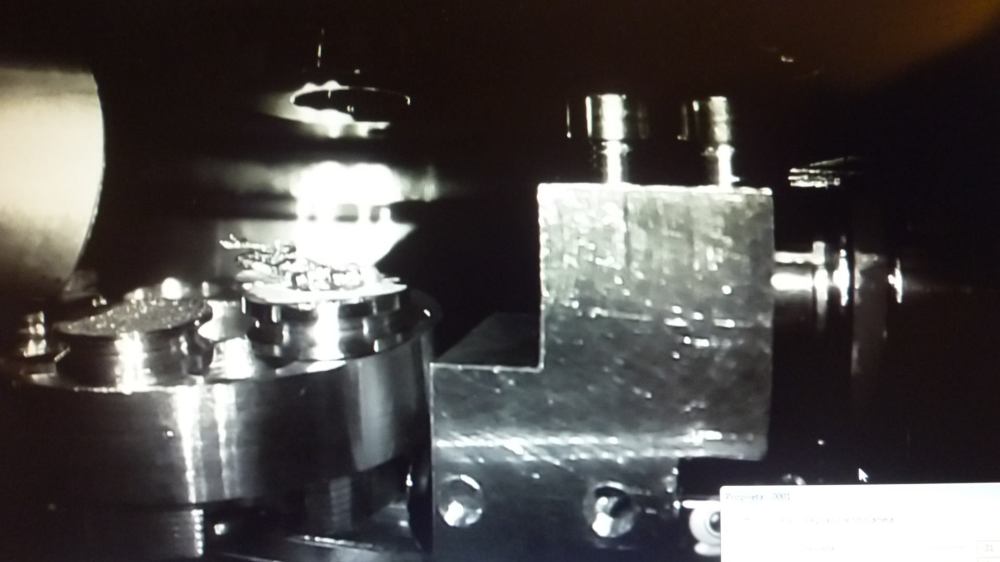
The view of the newly machined specimen holder inside the chamber allows me to see which stub is under the beam and its position. Image taken from PC monitor.
